How I Finally Organized My iPad (And You Can Too!)
Let’s be honest. My iPad was a beautiful, expensive mess. I had apps everywhere, files lost in the void, and my home screen gave me anxiety. I knew I wasn’t getting the most out of this amazing tool.
So, I decided to tackle the chaos. After a lot of trial and error, I found a system that works. It’s not about being rigid—it’s about creating a flow that feels effortless and makes my iPad a joy to use every single day.
Here’s the exact, step-by-step process I used to transform my iPad from cluttered to curated. Grab your tablet, and let’s do this together.
1. The Great App Purge
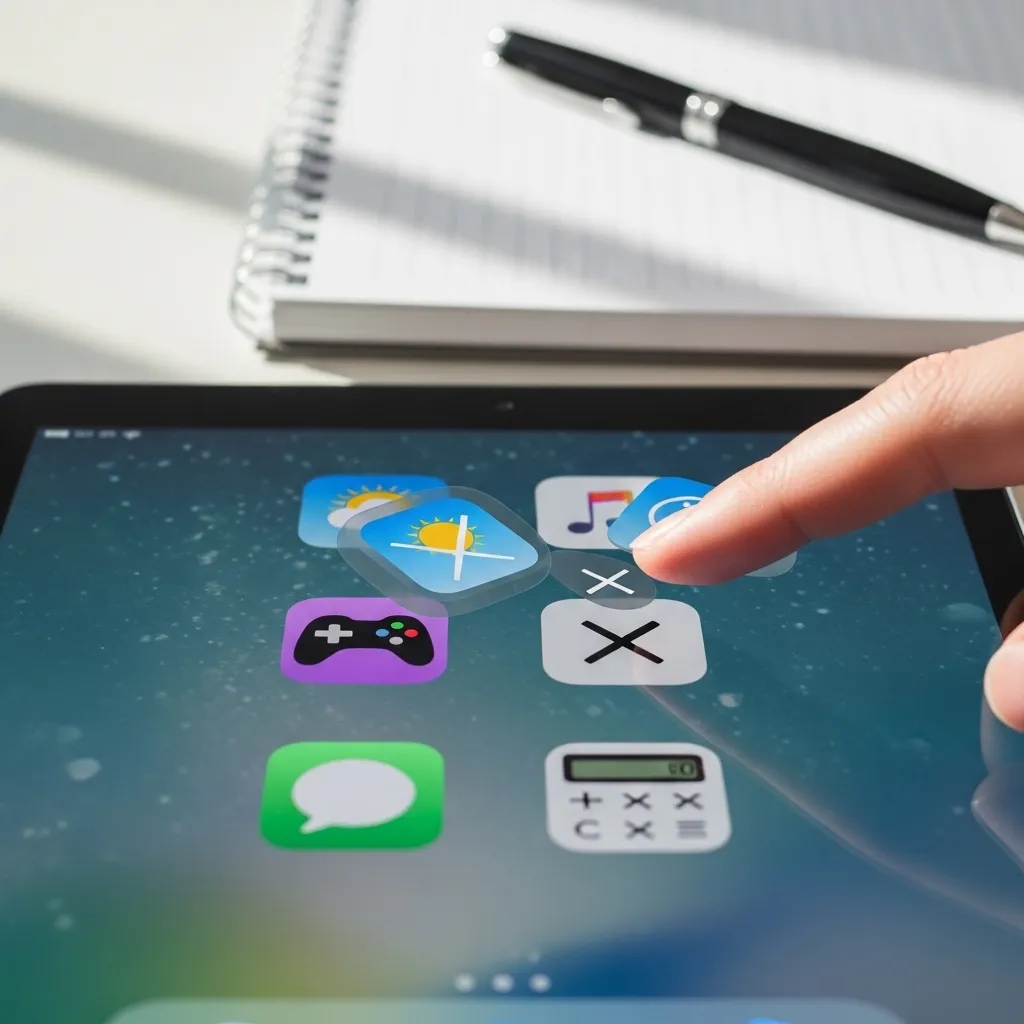
First, I faced the truth: I didn’t need half the apps I had. I went through every single page and folder, asking myself, “Have I used this in the last month?” If the answer was no, it was gone.
I deleted apps I’d downloaded for a one-time project, old games I never played, and redundant tools. Just this act of decluttering freed up storage and mental space. It’s the most important first step.
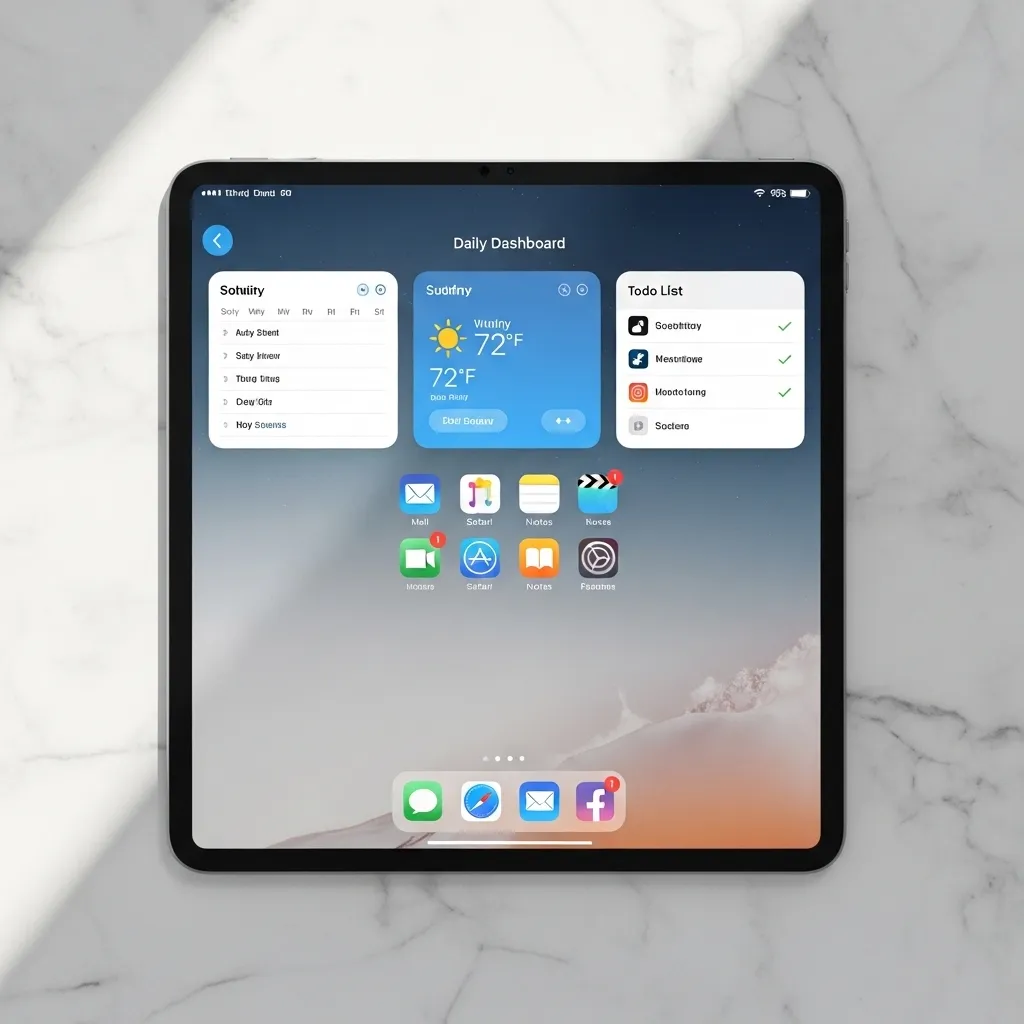
2. Create a “Daily Dashboard” Home Screen
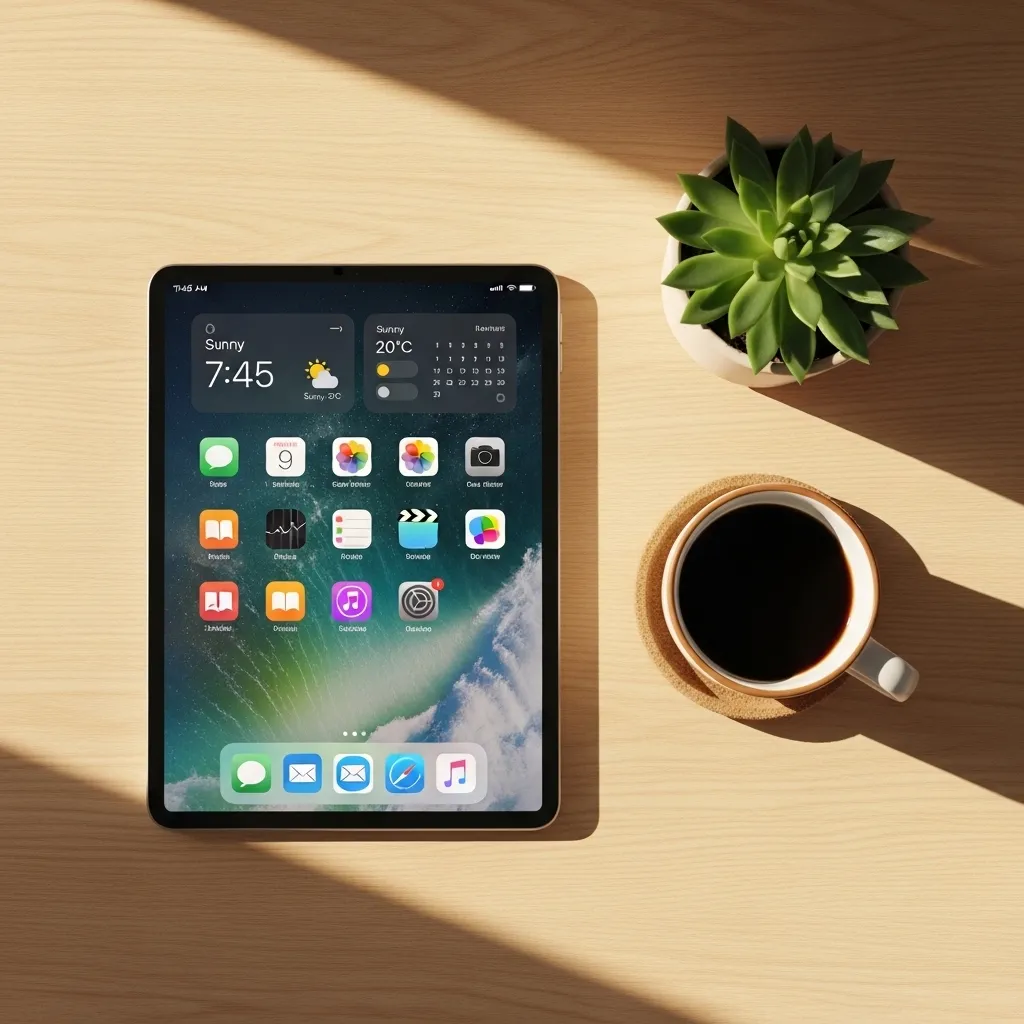
I reserved my first home screen for only the essentials—the apps I use every single day. Think of it as your command center. For me, that’s Calendar, Notes, Mail, and my task manager.
I used the widget feature to add at-a-glance info right on this screen: my upcoming events, a quick note pad, and the weather. Now, when I wake up my iPad, I see exactly what I need to start my day.
3. Use Folders with Intention (Not Just Dumping Grounds)
Instead of shoving random apps into a folder called “Utilities,” I got specific. I created folders based on action or project. For example: “Create” (for Procreate, Canva), “Connect” (for social apps), and “Relax” (for books and streaming).
This makes finding apps intuitive. I’m not just looking for an app icon; I’m thinking, “I want to edit a photo,” and I go straight to my “Create” folder.

4. Master the Dock for Your Power Tools
The Dock is prime real estate. I treat it like my toolbelt. I keep my four most-used apps there (Safari, Files, Notes, and Things 3). The right side of the Dock holds my “Smart Stack” of widgets and a folder for “In Progress” projects.
This setup means my absolute essentials are always accessible, no matter what app I’m in or which home screen page I’m on. It’s a huge time-saver.

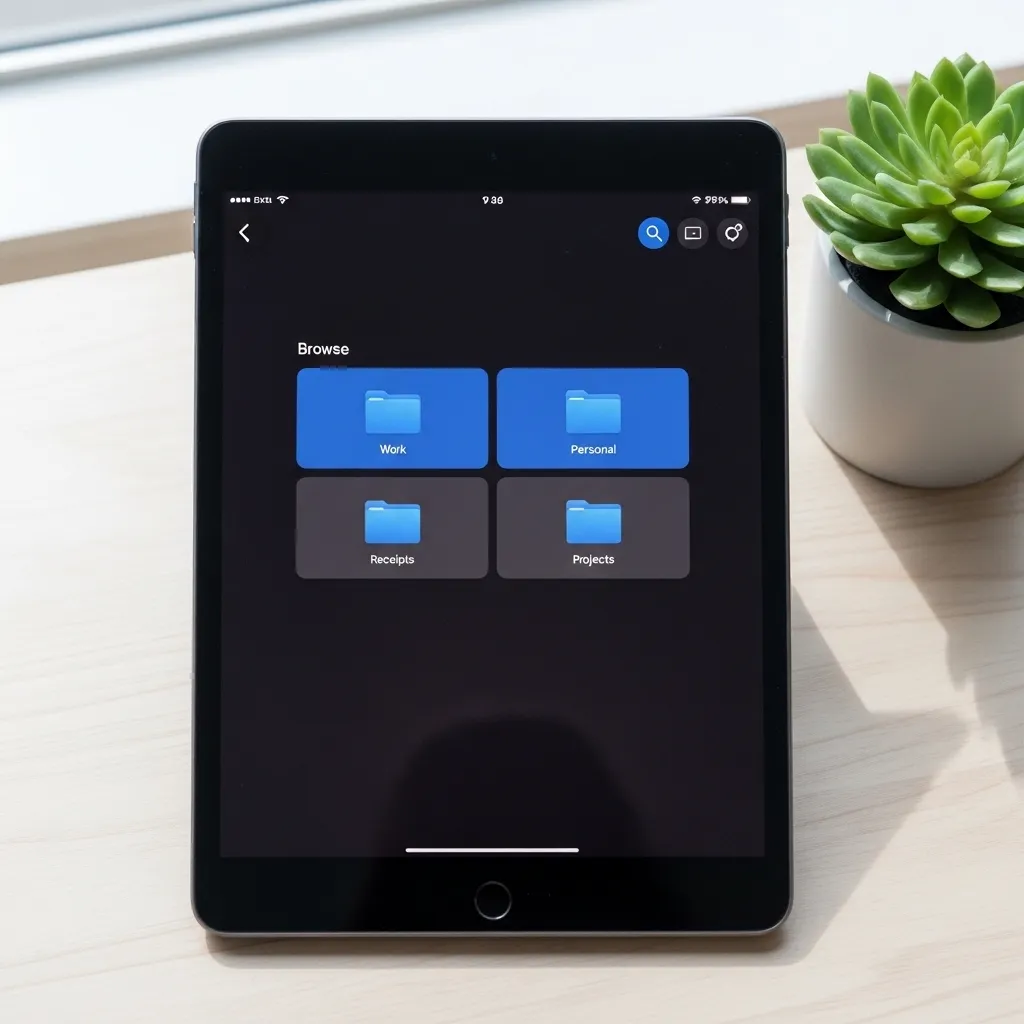
5. Tame Your Files with the Files App
The Files app was a game-changer once I organized it. I created a simple folder structure: Personal, Work, Home, and Archive. Inside “Work,” I have folders for each client or project.
I also connected my cloud services (iCloud Drive, Google Drive) right inside the Files app. Now, everything lives in one searchable place. No more wondering where I saved that PDF!
6. Declutter Your Safari Bookmarks & Tabs
I had hundreds of open tabs and a bookmark list I never used. I started fresh. I created bookmark folders for “Read Later,” “Recipes,” “Inspiration,” and “Reference.”
Now, I save sites directly to these folders. I also make it a habit to close all tabs at the end of the week. It feels like a digital reset and keeps Safari running smoothly.
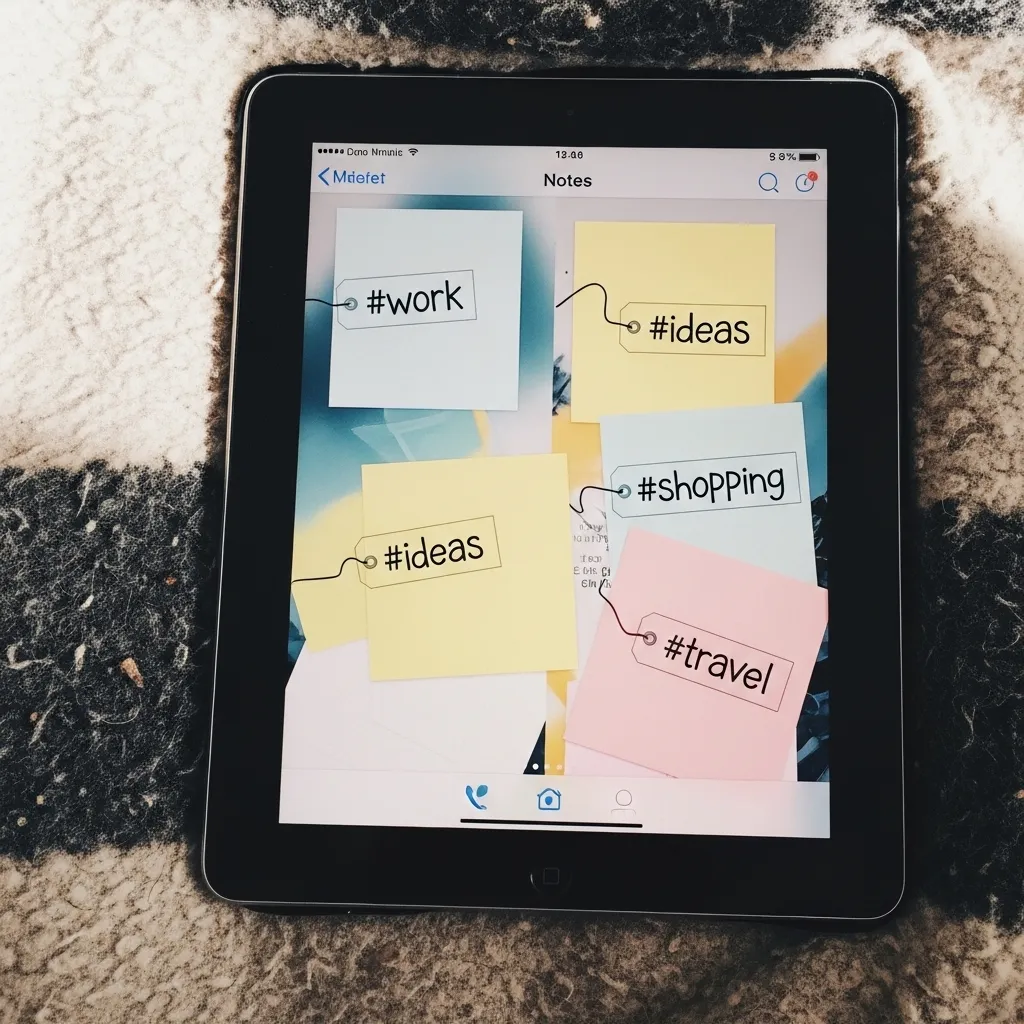
7. Organize Your Notes with Tags
The Tags feature in the Notes app is a secret weapon. Instead of just putting notes in folders, I add tags like #recipe, #project-idea, or #travel.
Now, I can search for a tag and see all related notes across different folders. It’s a flexible system that grows with you and makes finding old notes a breeze.
8. Set Up Focus Modes for Different Parts of Your Day
I set up different Focus modes (like Work, Personal, Reading) that automatically filter what notifications I see and can even change my home screen.
When my “Work” focus is on, only my “Daily Dashboard” and “Create” folder are visible. It removes distractions and helps my brain switch into the right mode for the task at hand.

9. Curate Your Widgets for Function & Calm
Widgets are powerful, but too many can look chaotic. I chose widgets that provide real utility or joy. I have one Smart Stack that rotates between my calendar, reminders, and a beautiful photo widget.
I placed these strategically on my second home screen page, so I have information when I need it, but my main view stays clean and focused.

10. Schedule a Monthly “Digital Clean-Up”
Organization isn’t a one-time thing. I put a 15-minute “iPad Tidy-Up” reminder in my calendar for the first Sunday of every month.
In that time, I delete unused apps, clear out downloaded files, and close Safari tabs. This tiny habit prevents the clutter from ever building back up to overwhelming levels.

Your Peaceful, Productive iPad Awaits
Taking the time to organize my iPad wasn’t just about neat icons. It transformed how I use my device. It feels lighter, faster, and truly mine. It’s now a tool for creation and calm, not a source of stress.
Start with just one of these tips this week. You don’t have to do it all at once. Even a small change will make a big difference in how you feel every time you pick up your iPad.
FAQ: Your iPad Organization Questions, Answered
Q: How many home screen pages should I have?
A: I recommend no more than two. The first is your “Daily Dashboard,” the second can hold folders for other categories. More than that, and things get lost again.
Q: What’s the best way to organize photos?
A> Use the Albums feature! Create albums for specific events, projects, or themes (like “Home Inspiration” or “Recipes to Try”). The “For You” tab will also create curated albums automatically.
Q: Should I put all my apps in folders?
A> Not necessarily. Your 4-6 most-used apps can live freely on your main screen for instant access. Use folders for everything else to reduce visual noise.
Q: How do I stop my iPad from getting cluttered again?
A> The monthly 15-minute clean-up is key! Also, be mindful when downloading new apps. Ask yourself where it will live and if you really need it before hitting “Get.”
Q: Can I organize my iPad with a keyboard/mouse?
A> Absolutely! Using a trackpad or mouse makes dragging and dropping apps, creating folders, and managing files in the Files app much faster. It’s a great way to tackle the initial setup.