How to Hide Photos on Your iPhone: 10 Clever Ways to Keep Your Gallery Private
Ever had that moment? You’re showing a friend a vacation picture, and with one accidental swipe, a private photo pops up. We’ve all been there. Your iPhone’s camera roll is a treasure trove of memories, but not everything is meant for public viewing.
Luckily, Apple gives us several built-in tools to tidy up our visual diaries. Hiding photos isn’t about having secrets; it’s about curating your space and protecting your privacy. Whether it’s surprise party plans, sensitive documents, or just that one unflattering selfie, you deserve control.
Let me walk you through the best methods, from the super simple to the wonderfully secure. I use a mix of these tricks every single day.
1. Use the Native “Hide” Feature (The Quick Fix)
This is your iPhone’s built-in, one-tap solution. It’s perfect for when you need to make a photo disappear from your main albums instantly.
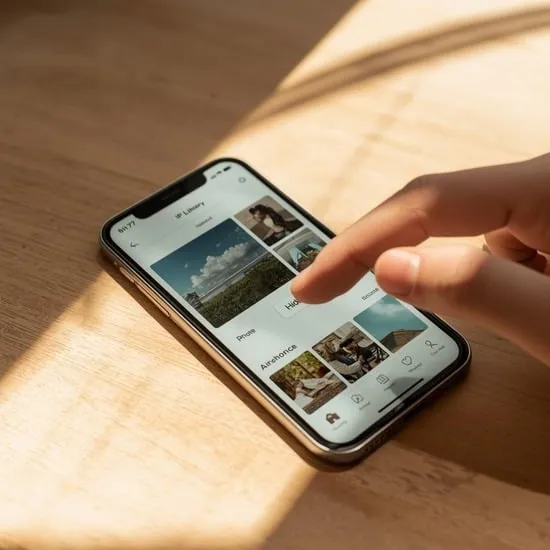
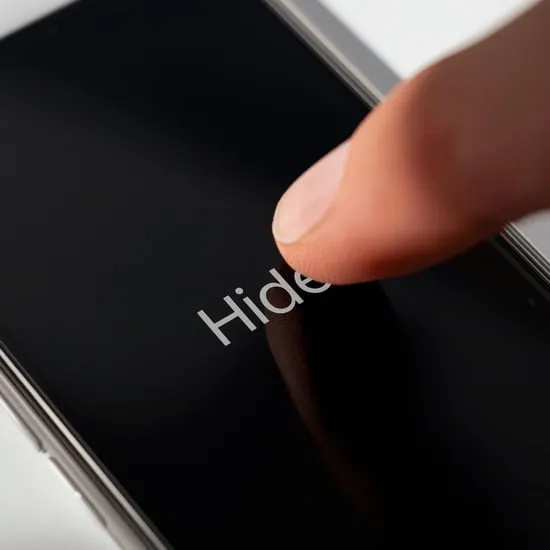
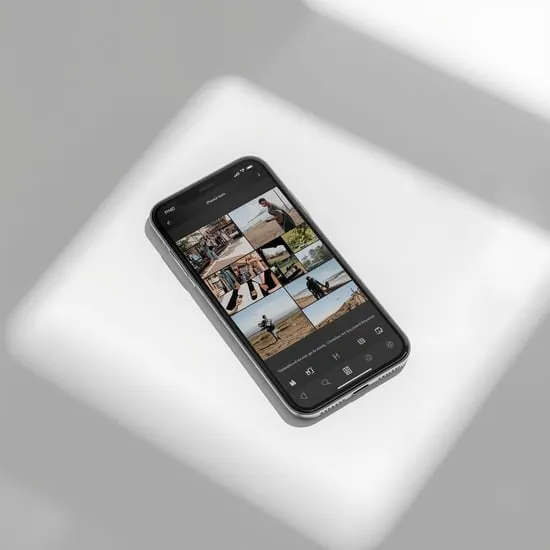
Just open the photo, tap the share icon, and scroll down to find “Hide.” Confirm, and it vanishes from your Moments, Collections, and Years. The photo isn’t deleted—it’s moved to a special “Hidden” album. Think of it as a temporary holding zone for things you don’t want front and center.
It’s a great first step, but remember, the Hidden album itself isn’t locked. For true privacy, we’ll need to go a step further.
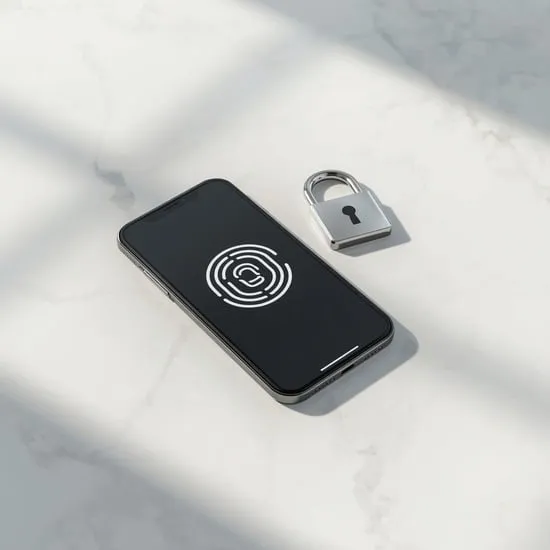
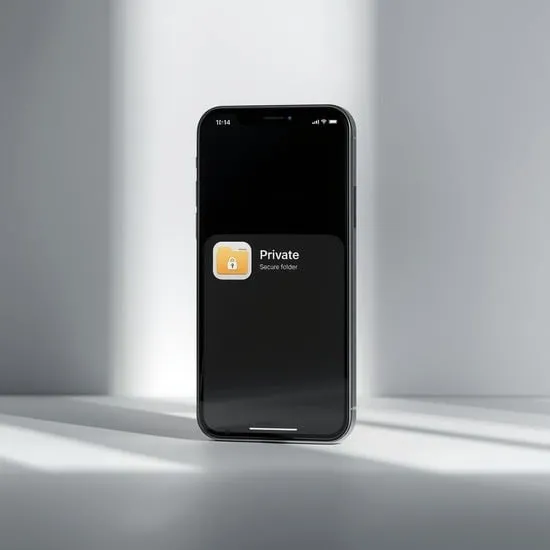
2. Lock the Hidden Album with Face ID (The Game Changer)
Did you know you can put a lock on that Hidden album? This is my go-to method. It uses your Face ID or Touch ID, making it incredibly secure.
Head to Settings > Photos. Scroll down and toggle on “Use Face ID” (or Touch ID) for the Hidden Album. Now, when you or anyone else opens the Hidden album in the Photos app, it requires biometric authentication to view anything inside.
This transforms the basic Hide feature into a powerful vault. It’s seamless, secure, and feels very “Apple.” Your hidden photos stay hidden until you look at them.
3. Stash Photos in a “Notes” Locked Note (The Organizer’s Dream)
The Notes app is a secret weapon for photo privacy. You can create a note, add photos to it, and then lock the entire note with a password.
Create a new note, tap the camera icon, and select “Photo Library” to add your sensitive images. Then, tap the three dots (•••) and select “Lock.” Set a password. Now, those photos live in a locked, encrypted note, separate from your camera roll entirely.
I love this for grouping related private photos, like scan IDs or gift ideas. You can even have multiple locked notes for different categories.

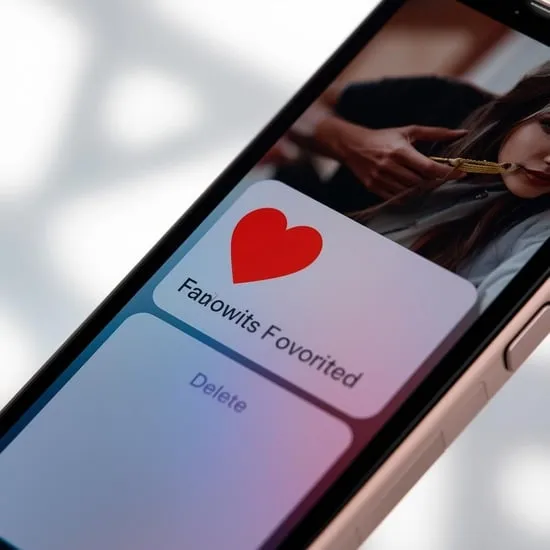
4. “Hide” in Plain Sight with Burst Photos (The Sneaky Trick)
Here’s a creative workaround. Take a burst of photos of something innocent (like your desk or the sky). Amongst those, take the photo you actually want to hide.
In your burst stack, you can favorite the “decoy” photos and hide the real one. To anyone scrolling, it just looks like a burst shot. They’d have to tap and carefully scroll through the burst to find the hidden image, which they’re unlikely to do.
It’s not Fort Knox, but it’s a clever way to make a photo less obvious during a casual browse. Perfect for a single image you want to camouflage.
5. Utilize the “Files” App as a Secure Folder
The Files app isn’t just for documents. You can create a secure folder right there on your iPhone. This keeps photos out of the Photos app completely.
Open Files, navigate to “On My iPhone,” and create a new folder (maybe name it something boring like “Receipts 2023”). Move your private photos here from your camera roll. You can even put this folder inside another folder for extra layers.
For the ultimate security, you can turn on the folder’s “Encryption” option if you store it in iCloud Drive. It’s a clean, file-system approach to photo management.
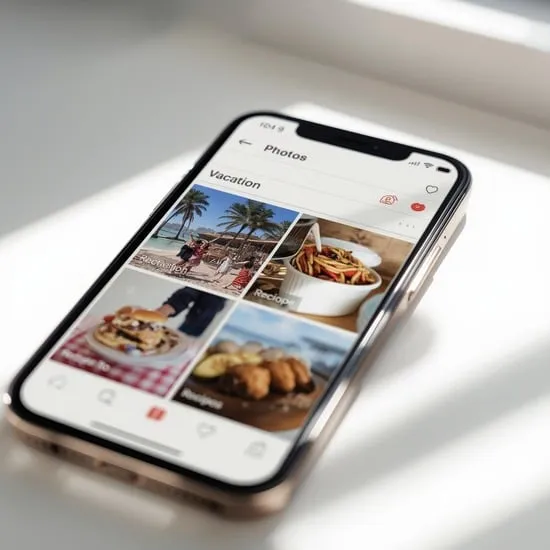
6. Create a Dedicated “Private” Photo Album (The Visual Decoy)
Sometimes, the best place to hide something is where no one would think to look. Create a new album in your Photos app and give it a painfully boring name—”Utility Bills,” “Garden Soil pH,” or “Light Bulb Specs.”
Move your private photos into this album. Then, delete them from your main “Recents” roll (they’ll stay safe in the album). To anyone quickly glancing, your albums look full of mundane stuff. They’d never tap on “Light Bulb Specs” expecting to find personal photos.
It’s a simple psychological trick that works surprisingly well.
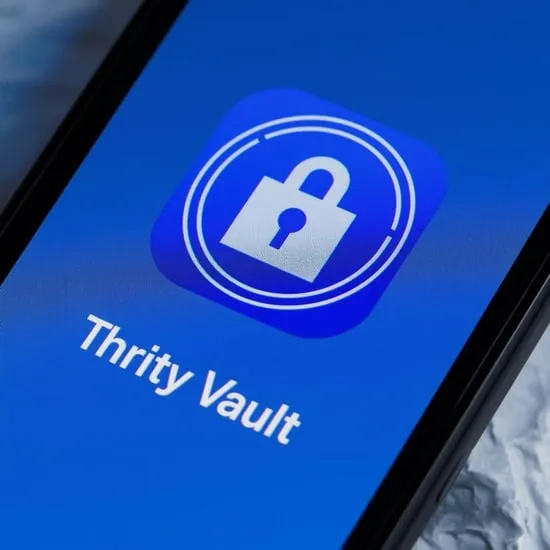
7. Use Third-Party Vault Apps (The Fort Knox Option)
For maximum security and features, dedicated vault apps from the App Store are fantastic. They often look like calculators or notes apps to disguise themselves.
Inside, they offer PIN, pattern, or biometric locks, break-in alerts, and even decoy passwords. You import photos directly into the app, and they’re removed from your camera roll. Some can even store videos and documents.
If you have a large collection of very sensitive images, this dedicated, encrypted space is worth the download. It’s peace of mind in an app.
8. The Screenshot Cropping Method (The Minimalist Move)
This is a quick hack for hiding a small part of a photo. Let’s say you have a screenshot with an account number or a photo with a person in the corner you want to crop out.
Take a screenshot of the photo, then immediately tap the thumbnail and use the crop tool. Crop out the sensitive part. Save this new, cropped version. You can then delete the original. It’s a permanent edit, so only do this if you’re sure you don’t need the full image anymore.
It’s not for everything, but for sanitizing images before sharing, it’s a perfect tool.
9. Archive in Cloud Services (The Off-Site Storage)
Move photos completely off your device. You can upload them to a secure folder in a cloud service like iCloud Drive, Google Drive, or Dropbox, and then delete the originals from your iPhone.
Access them only through the service’s app, which you can also lock with Face ID. This frees up space on your phone and puts a digital “mile” between you and the photos. They’re safe, backed up, and not in your daily gallery.
Just be sure you trust the cloud service’s security and remember your login details!

10. The Strategic “Favorite” & Delete Combo
This method uses misdirection. First, favorite a bunch of random, innocent photos. Then, hide the photo you want to keep private using the native Hide feature.
Now, if someone is browsing your phone, they might naturally go to your “Favorites” album, seeing all the photos you’ve starred. The hidden photo isn’t there. The act of curating a strong Favorites album can draw attention away from what’s missing.
It’s about controlling the narrative of your photo library and guiding the viewer’s eye to what you *want* them to see.
Your Private Gallery, Your Rules
Mixing and matching these methods is key. I keep my daily hidden snaps in the locked Hidden album, my sensitive documents in a locked Note, and use a vault app for my most important archives. Your iPhone is a powerful tool for privacy—you just have to know where to tap. Start with one method today and reclaim your camera roll.
Quick FAQ on Hiding iPhone Photos
Q: If I hide a photo, does it get deleted?
A: No! Hiding only moves it out of your main view. It’s still on your phone, safe and sound, in the Hidden album until you delete it manually.
Q: Where is the Hidden album?
A: Open the Photos app, go to the “Albums” tab, and scroll all the way to the bottom under “Utilities.” You’ll see the “Hidden” album there.
Q: Can someone find my hidden photos?
A: If you only use the basic Hide feature, yes—they can find the Hidden album. That’s why locking it with Face ID in Settings is so crucial for real privacy.
Q: Do vault apps take up more phone space?
A: Yes, the photos stored inside them still use storage on your iPhone. They’re just stored in the app’s data instead of your Photos app.
Q: What’s the most secure method?
A: Using a reputable third-party vault app with encryption or locking the native Hidden album with Face ID. Both add a strong biometric layer of security.