Your Ultimate Guide to Subscribing to Apple Music
I remember when I first wanted to dive into Apple Music. I was excited but a little unsure where to start. Was it just for iPhone users? How much did it cost? I figured it out, and now I’m here to share the simple steps so you can start streaming your favorite tunes in minutes.
Apple Music is like having a massive, personalized record store in your pocket. Whether you love chart-toppers, deep-cut indie, or perfect workout playlists, subscribing unlocks it all. Let’s walk through how to get your subscription set up, no matter what device you’re using.
1. Check Your Device Compatibility First
Before anything else, let’s make sure your device can run Apple Music. The good news is, it works on almost everything! I use it across my Apple devices, but it’s not exclusive to them.
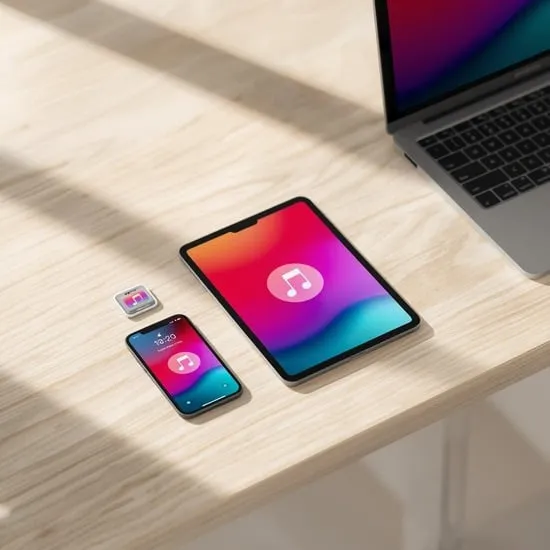
You can subscribe and listen on:
- iPhone, iPad, or iPod touch
- Mac or Windows PC
- Android phones and tablets
- Apple TV, HomePod, and some smart TVs
If you have one of these, you’re ready to go. The app is usually pre-installed on Apple devices. For others, you’ll just need to download it from your device’s app store.
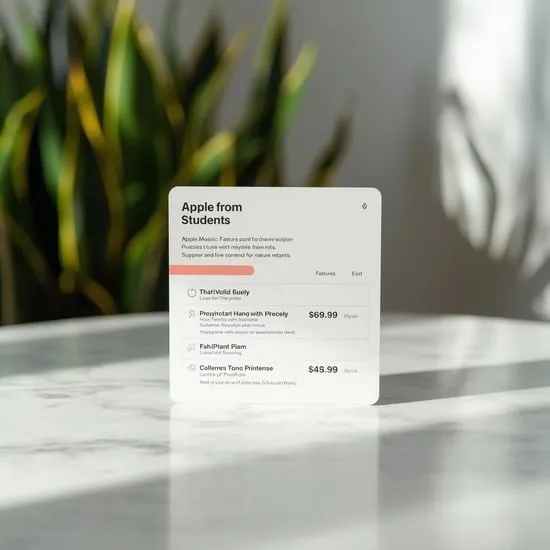
2. Understand the Subscription Plans
Apple Music offers a few different plans, and picking the right one can save you money. I started with the Individual plan, but your needs might be different.
Here’s a quick breakdown:
- Individual Plan: Perfect for one person. You get full access for one monthly fee.
- Family Plan: My favorite for my household. It lets up to six people share one subscription, each with their own library and recommendations.
- Student Plan: A great discounted option if you’re eligible.
There’s also often a free trial, so you can test the waters before your card is charged.
3. Sign Up on Your iPhone or iPad
This is the most common way, and it’s super streamlined. If you have an Apple ID (which you likely do), the process is a breeze.
Just open the pre-installed Music app. Tap the “For You” or “Listen Now” tab at the bottom. You’ll see an offer to try Apple Music. Tap “Try It Free” and follow the prompts. You’ll confirm your Apple ID and choose your plan.
The payment will be set up through your existing iTunes & App Store payment method. It’s all done in under a minute!
4. Subscribe on Your Android Device
Yes, you can absolutely join Apple Music even if you’re in the Android family! I helped a friend do this, and it was just as easy.
First, download the Apple Music app from the Google Play Store. Open the app and tap “Try It Free.” You’ll be asked to sign in with an Apple ID. Don’t have one? No problem—you can create one right there during the sign-up process.
Choose your plan, enter your payment details, and you’re all set. Your library will sync if you ever switch to an iPhone later.
5. Join via a Mac or Windows Computer
Maybe you want to manage your music from a bigger screen. You can subscribe directly from your computer, too.
On a Mac, open the Apple Music app or iTunes. Click “For You” in the sidebar and then “Try It Free.” On a Windows PC, you’ll need to have iTunes installed from the Microsoft Store. The process is the same: look for the Apple Music offer and click to start.
You’ll sign in with your Apple ID and complete the subscription. It’s a great way to curate playlists with a full keyboard.
6. Use the Free Trial Wisely
Most new subscribers get a free trial period—usually one to three months. This is your chance to explore without commitment. I used my trial to see if the music recommendations really “got” me.
Dive in! Search for your favorite artists, try the “Station” feature based on a song you love, and save albums to your library. Set a reminder in your calendar a few days before the trial ends. That way, you can decide if you want to continue or cancel before being charged.
7. Set Up the Family Plan
If you live with music lovers, the Family Plan is a game-changer. One subscription covers everyone. To set it up, the family organizer needs an Apple ID and subscribes to the Family plan.
Then, go to Settings > [Your Name] > Family Sharing on an iPhone or iPad. Tap “Add Member” and invite people via iMessage or email. Once they accept, they can open their Music app and have full access. Everyone’s tastes and playlists stay separate and private.

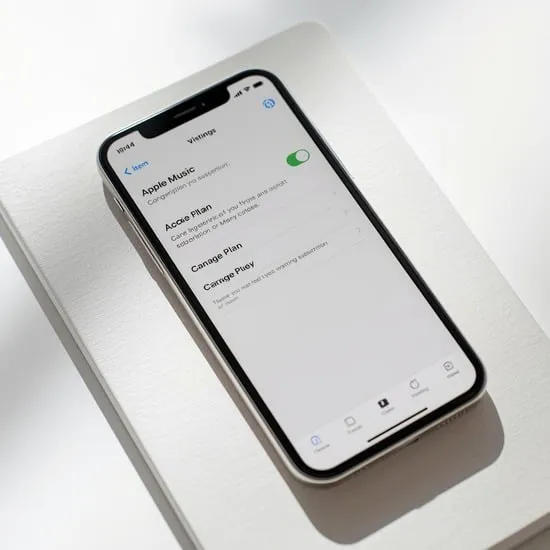
8. Manage or Change Your Subscription
Changed your mind about your plan? Life happens! You can upgrade, downgrade, or cancel easily from your device settings.
On an iPhone or iPad, go to Settings > [Your Name] > Subscriptions. Tap on Apple Music, and you’ll see your options. You can switch from Individual to Family, or cancel. On Android, manage it through the Google Play Store subscriptions page. On a Mac or PC, you can manage it through your Apple ID account settings online.
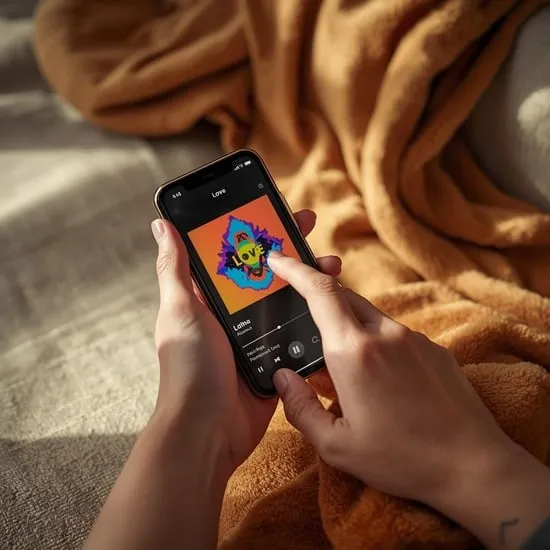
9. Start Exploring & Personalizing
Once you’re subscribed, the real fun begins. Tell Apple Music what you like! The more you listen, like songs, and add to your library, the better your recommendations become.
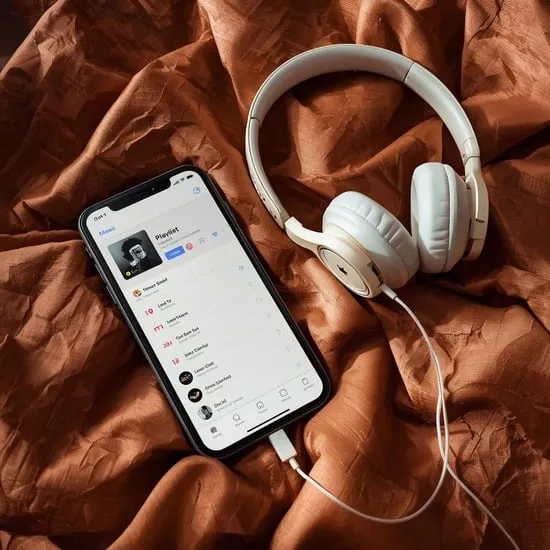
Don’t miss these features:
- Listen Now: Your daily hub for personalized mixes and new releases.
- Radio: Live stations and shows, including Apple Music 1.
- Search: Find any song, album, or curated playlist in seconds.
I love telling Siri to “play my chill mix” and having the perfect playlist start instantly.
10. Download Music for Offline Listening
Heading on a flight or into a low-signal area? You can download any song, album, or playlist to your device. This was a lifesaver on my last road trip through the mountains.
Just find the music you want in your library, tap the three dots (…), and look for the “Download” option. A little download icon will appear next to the title. To see all your offline music, go to your Library and tap “Downloaded Music.” Now you can listen anywhere, anytime.
Conclusion: Press Play on Your Music Journey
Subscribing to Apple Music is one of the easiest ways to fill your life with music. Whether you’re an Apple loyalist or an Android user, the steps are straightforward. Pick your plan, sign up on your favorite device, and start exploring a world of over 100 million songs.
Remember to use that free trial to make sure it’s the right fit for you. Now, go ahead—your next favorite song is waiting to be discovered.
Quick Apple Music Subscription FAQ
Q: Do I need an Apple ID to subscribe?
A: Yes, an Apple ID is required. It’s free and easy to create, even on an Android device or Windows PC.
Q: Can I cancel my free trial anytime?
A: Absolutely. If you cancel during the trial, you’ll keep access until the trial period ends, and you won’t be charged.
Q: What’s the difference between Apple Music and iTunes?
A: iTunes is a media store and library. Apple Music is a streaming subscription service. With Apple Music, you stream or download millions of songs for a monthly fee.
Q: Will my playlists transfer if I switch from Spotify?
A> Not automatically within Apple Music, but there are third-party apps and websites that can help you move your playlists over.
Q: How many devices can I use with one account?
A: You can sign in and use Apple Music on as many devices as you own, but you can only stream on one device at a time with an Individual plan.